Milesight 4G Solar — MQTT Setup
These instructions guide you through configuring your camera to securely send images to Beacon using MQTT.
Prerequisites
Before you begin, make sure you have:
- Access to your camera web interface
- Your Camera Endpoint Username and Password from the Beacon dashboard
- Your device name or manual device ID from Beacon
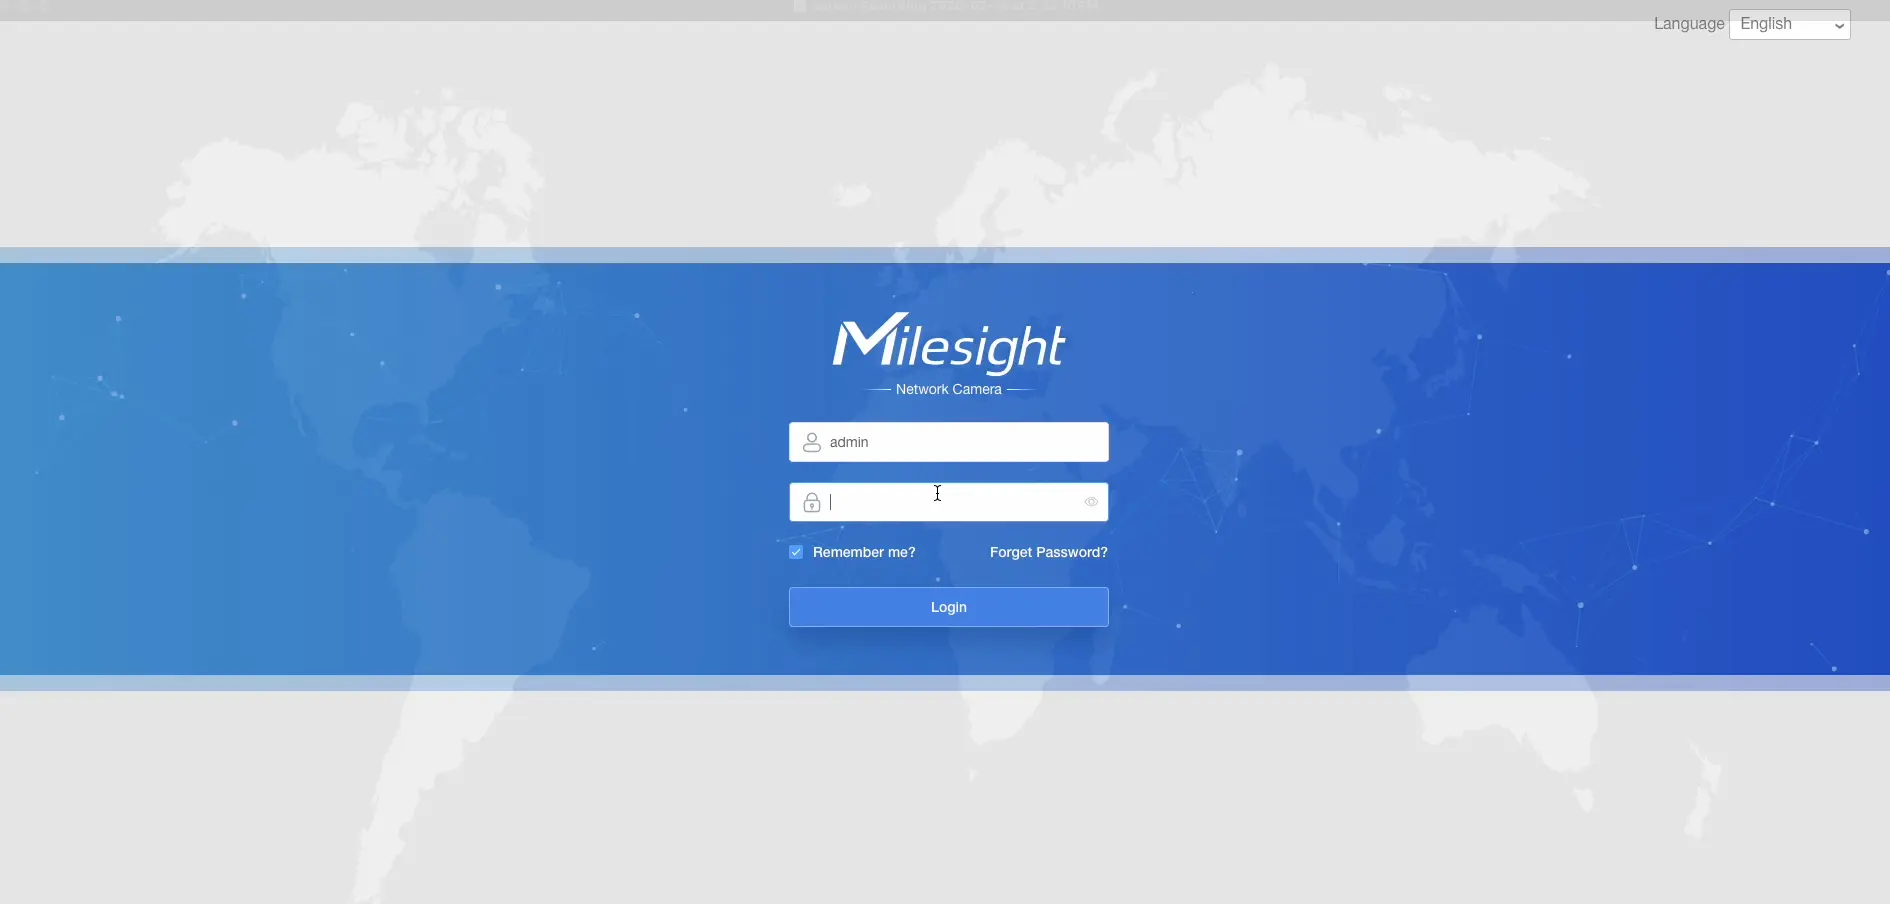
Step 1: Log in to the camera
- Log in to your camera through its web interface.
- Click the gear icon to open Settings.
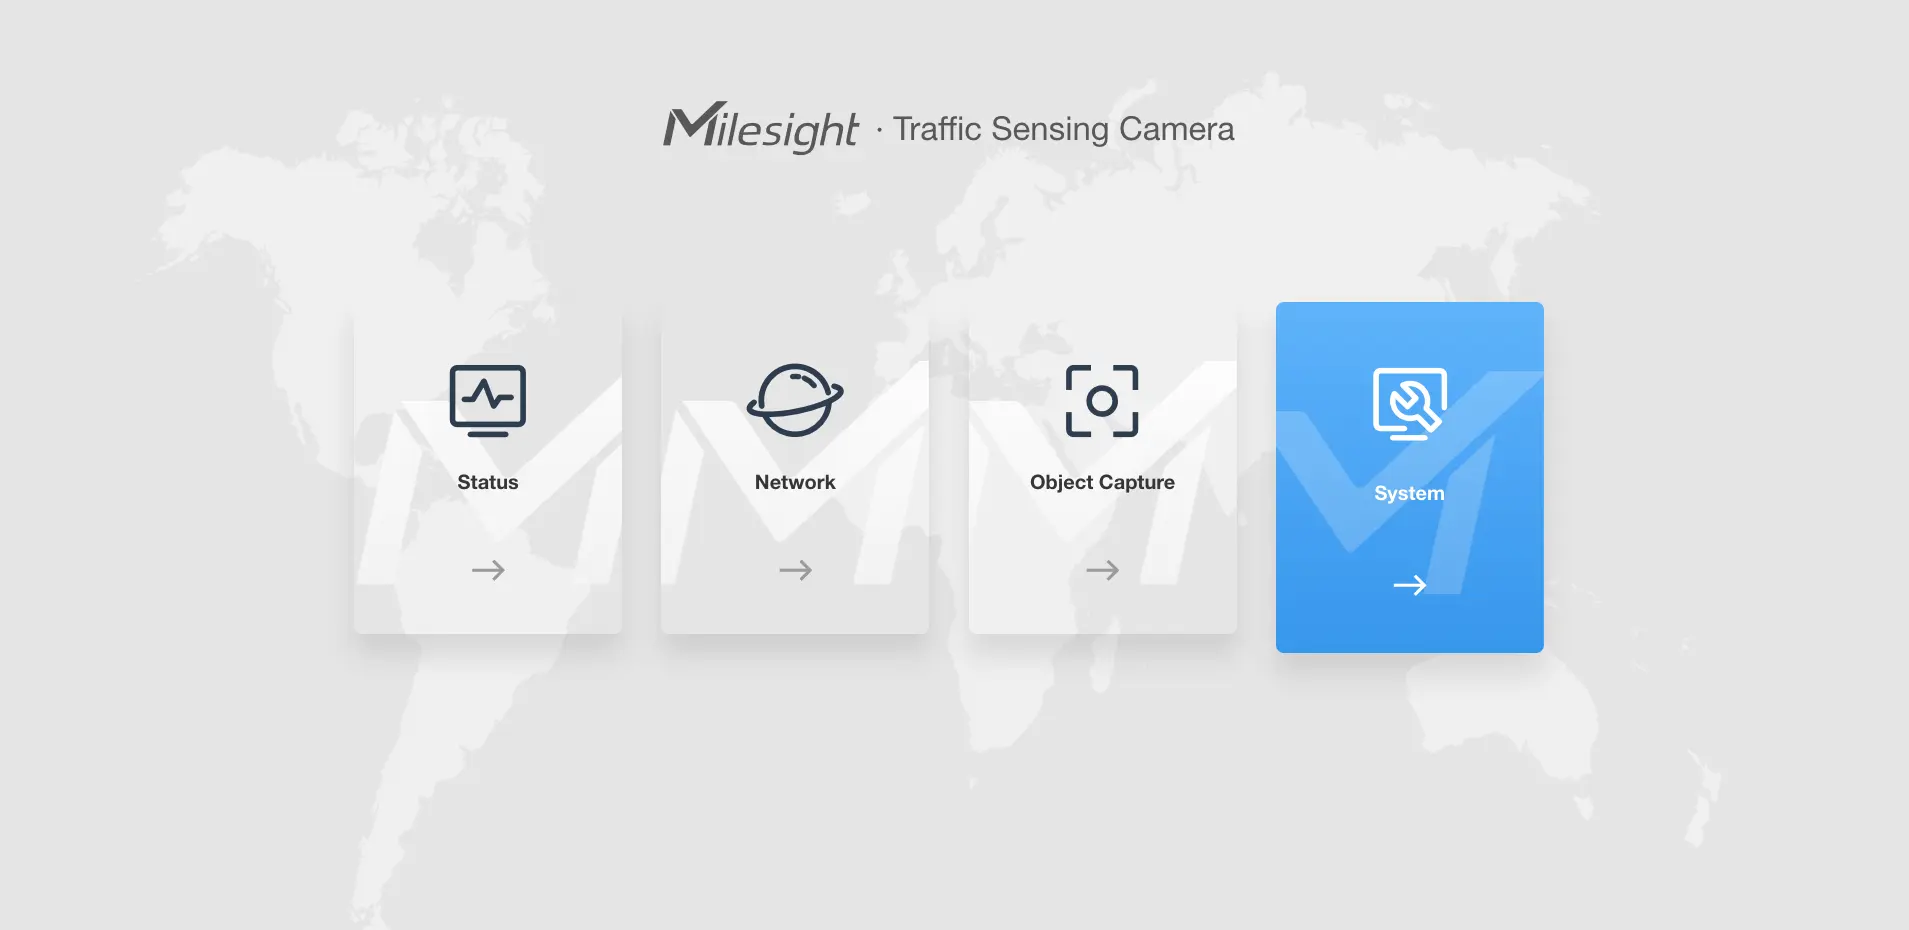
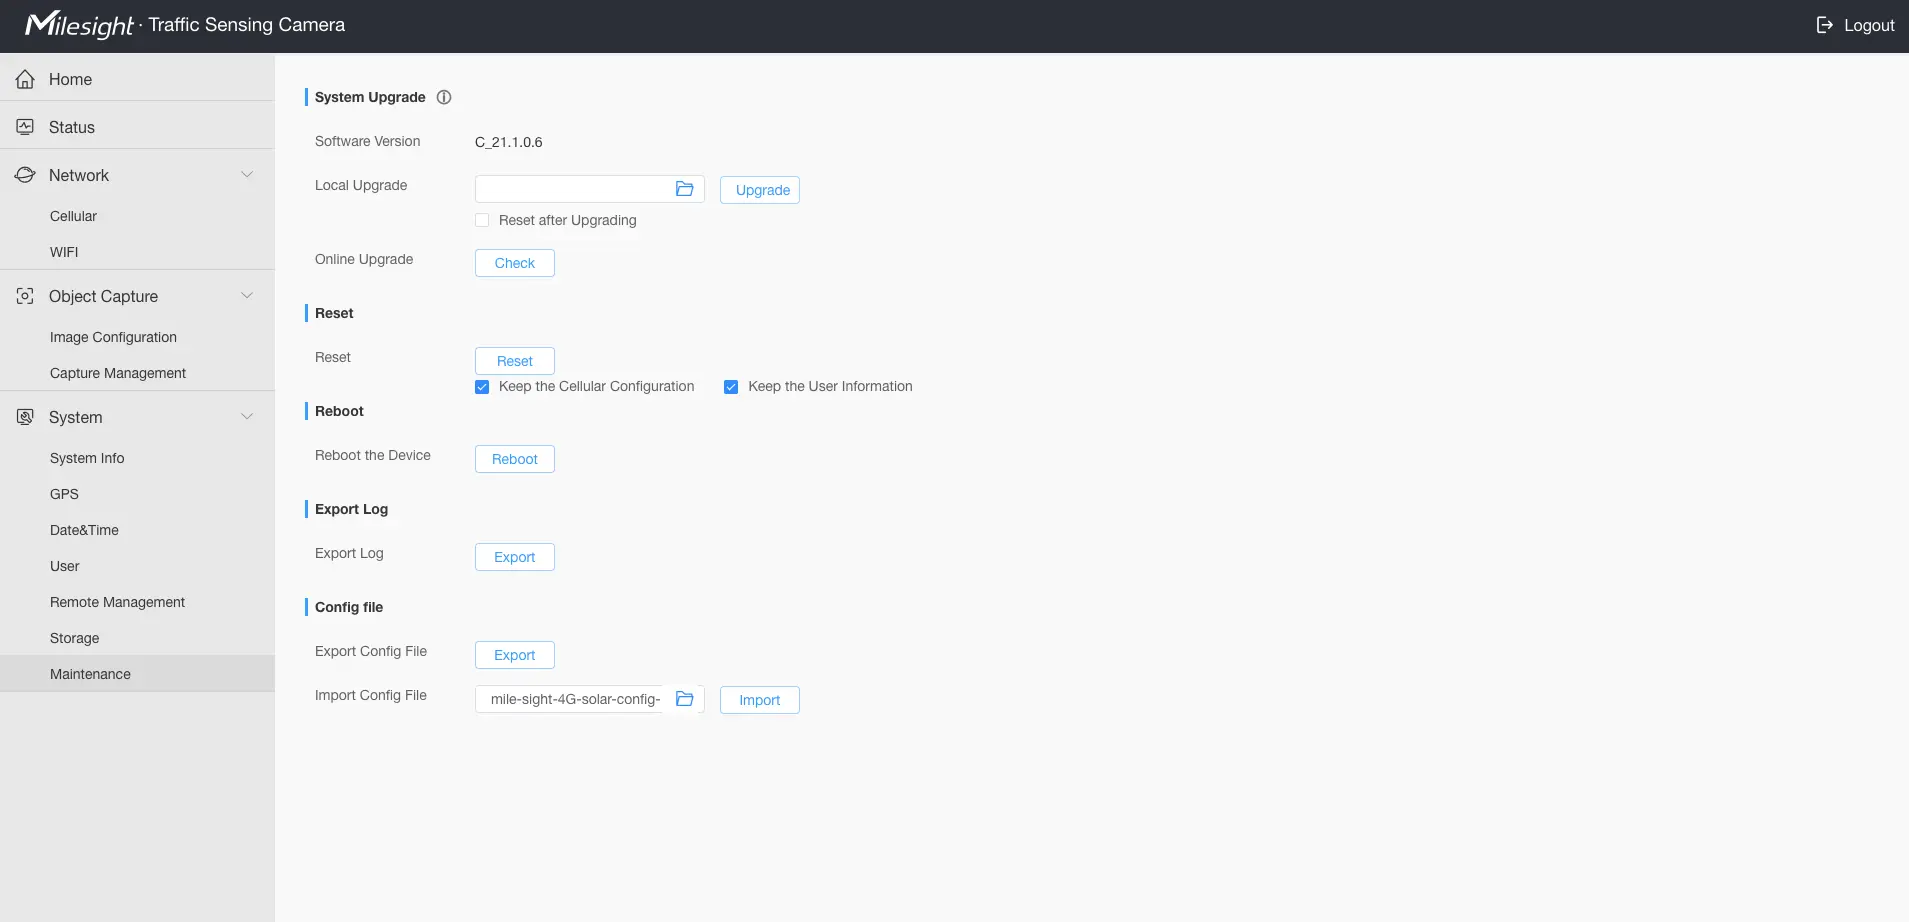
Step 2: Navigate to Maintenance
- Select the system option
Step 3: Reset the settings of the device
- Click the reset button
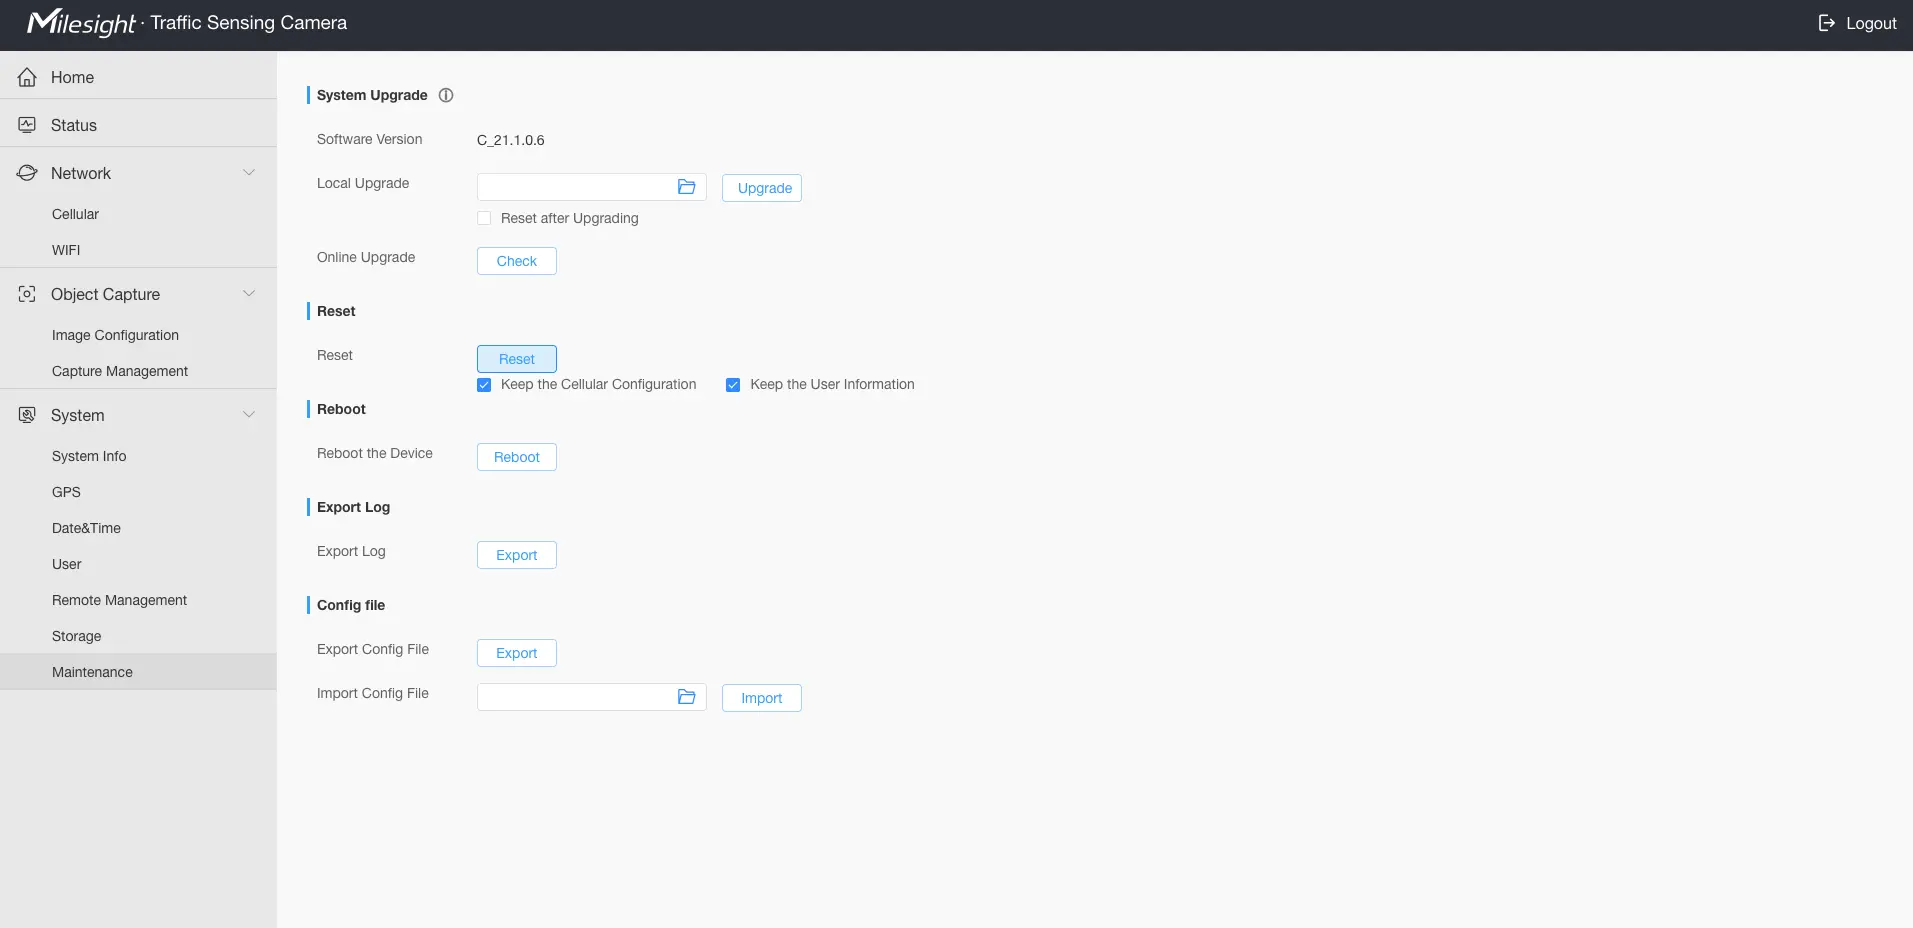
Step 4: Upload Configuration file
- Click the folder icon under config file and locate the configuration file that was generated by Beacon on your machine
- Once the configuration file is uploaded click the import button
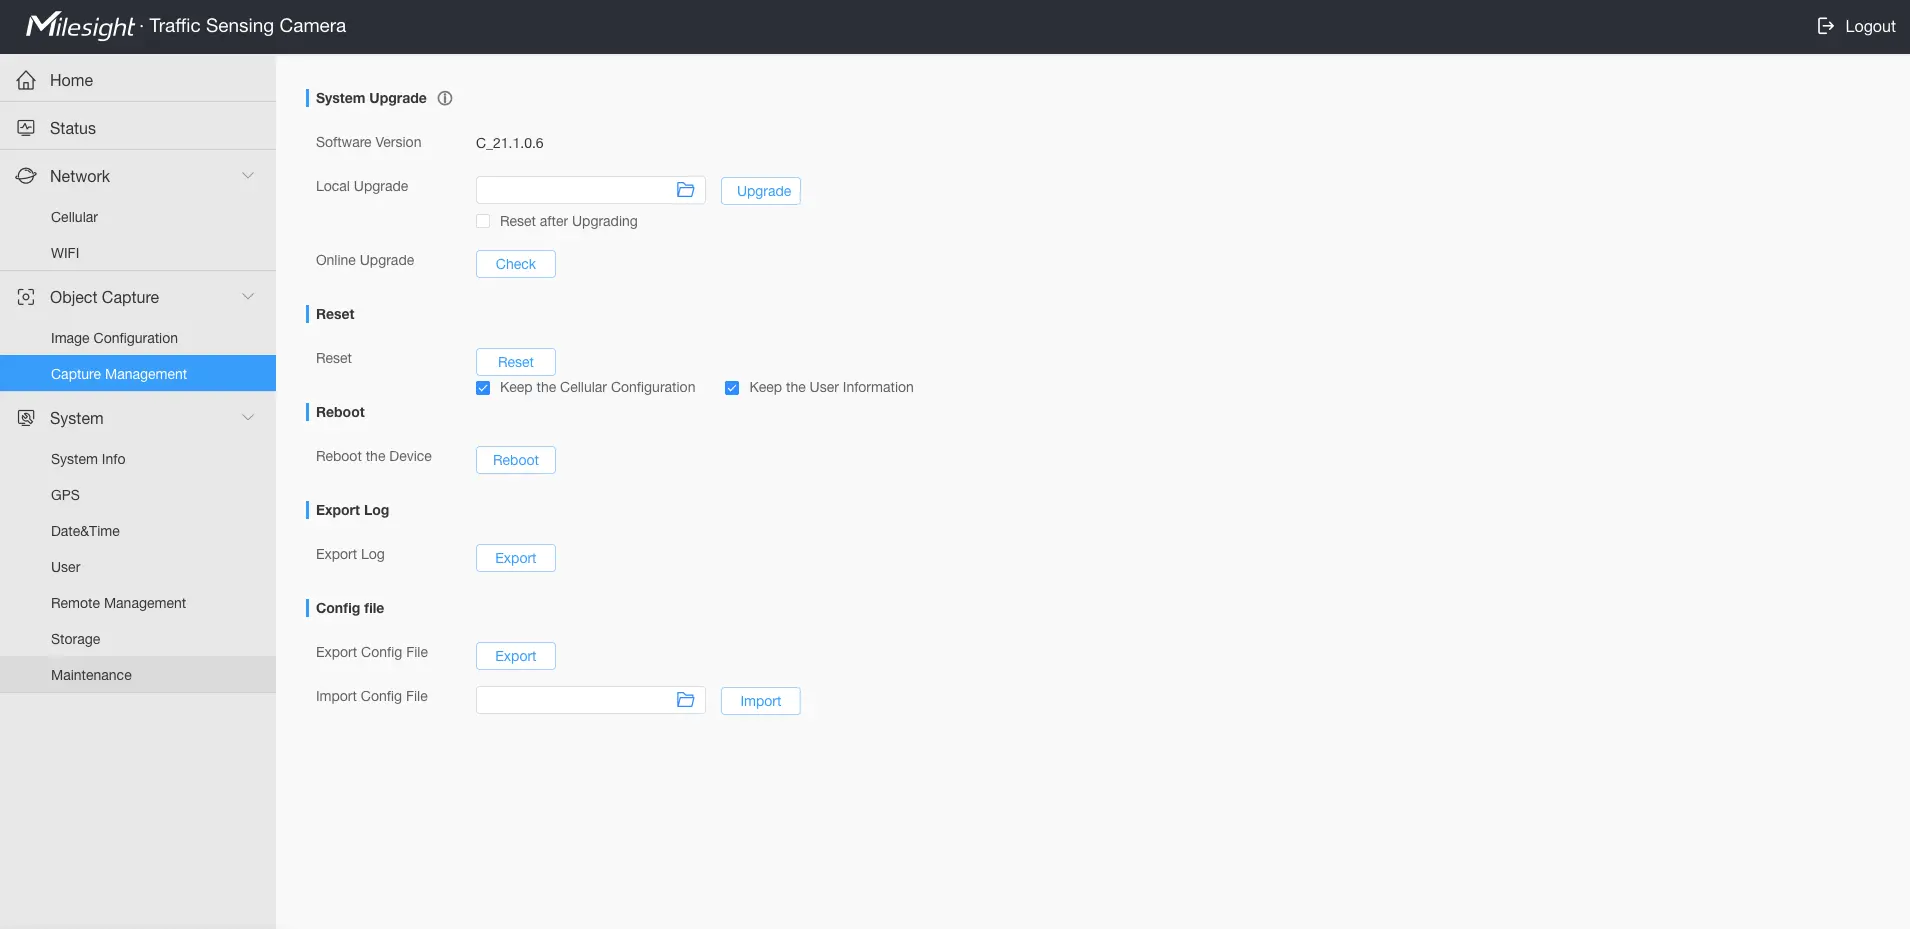
Step 5: Navigate to the Capture Management Page
- Click Capture Management
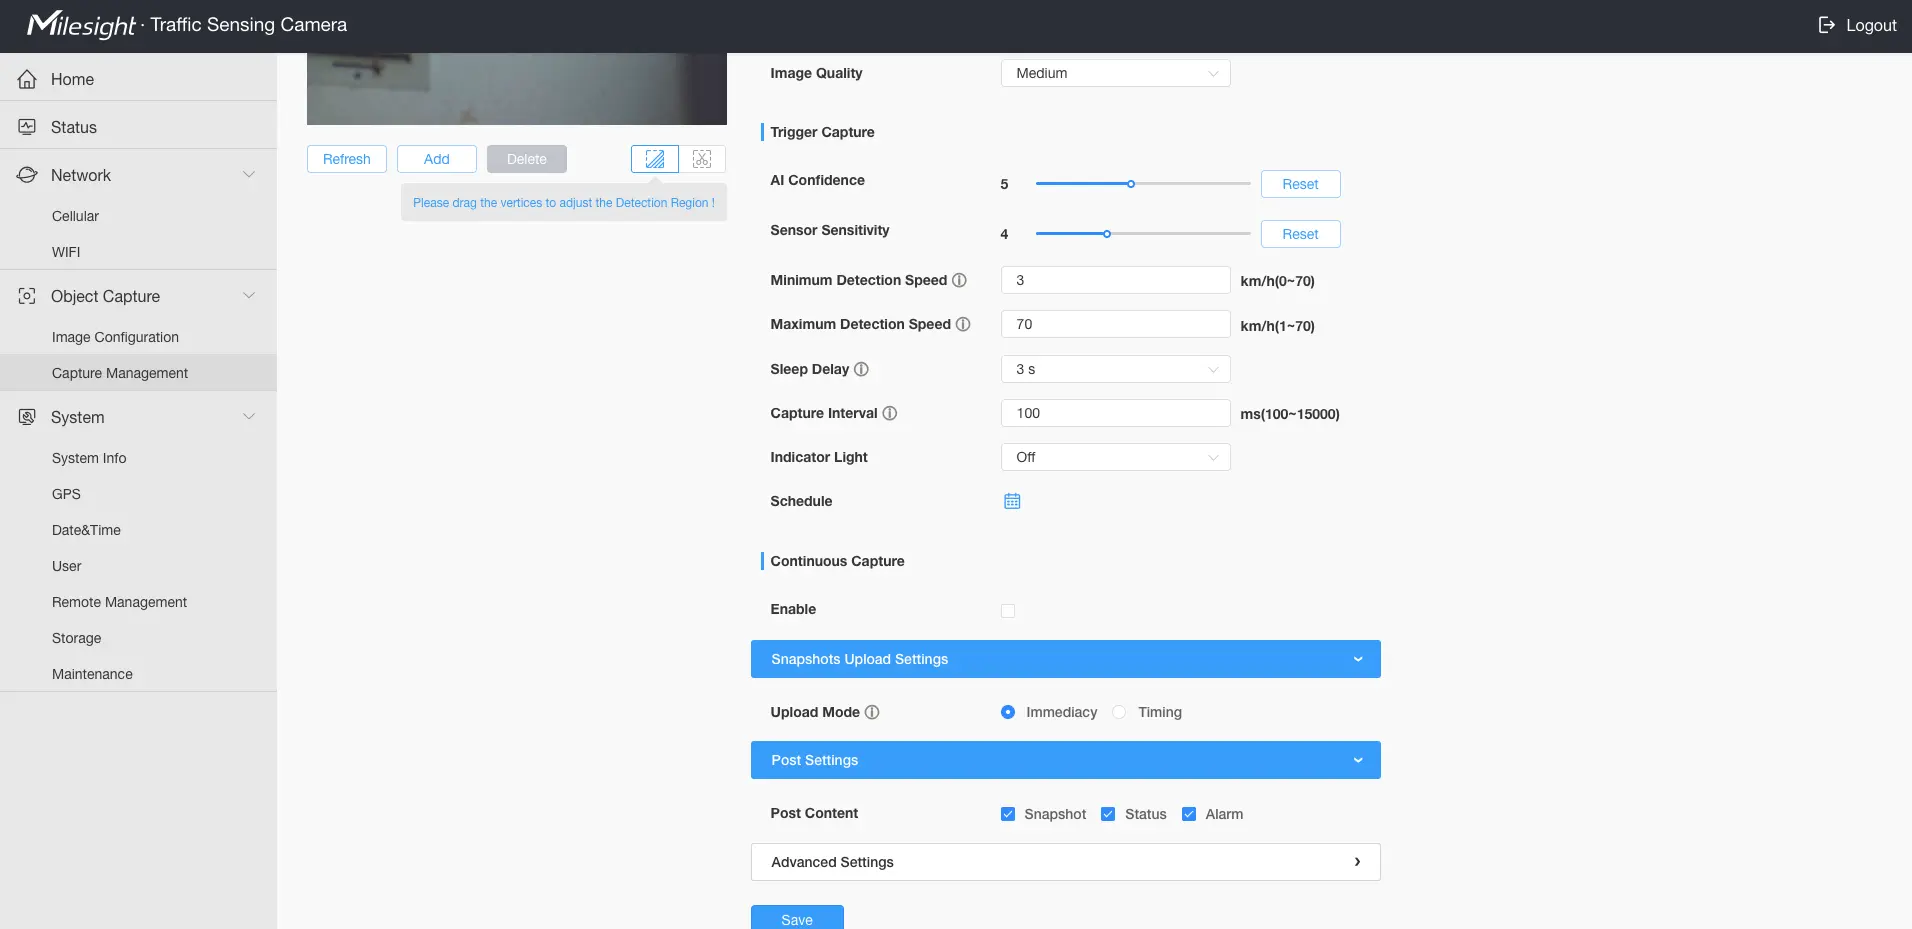
Step 6: Locate Advanced Settings
- Click Advanced Settings drop down
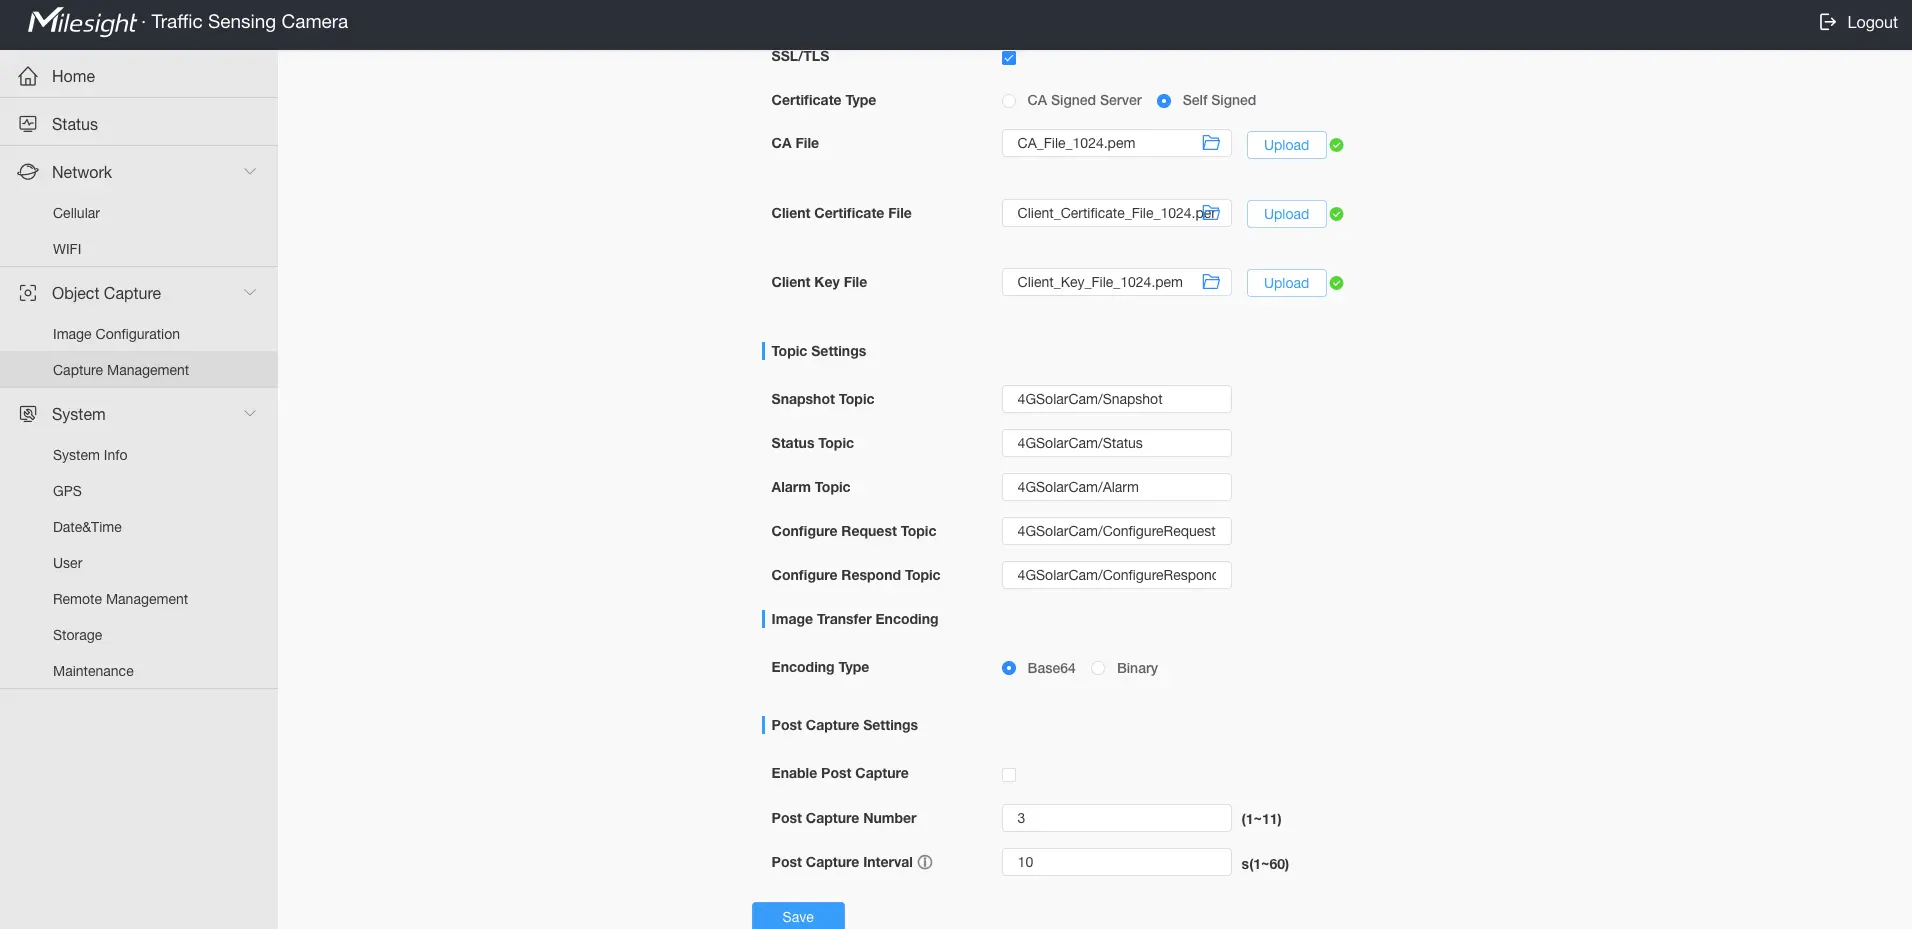
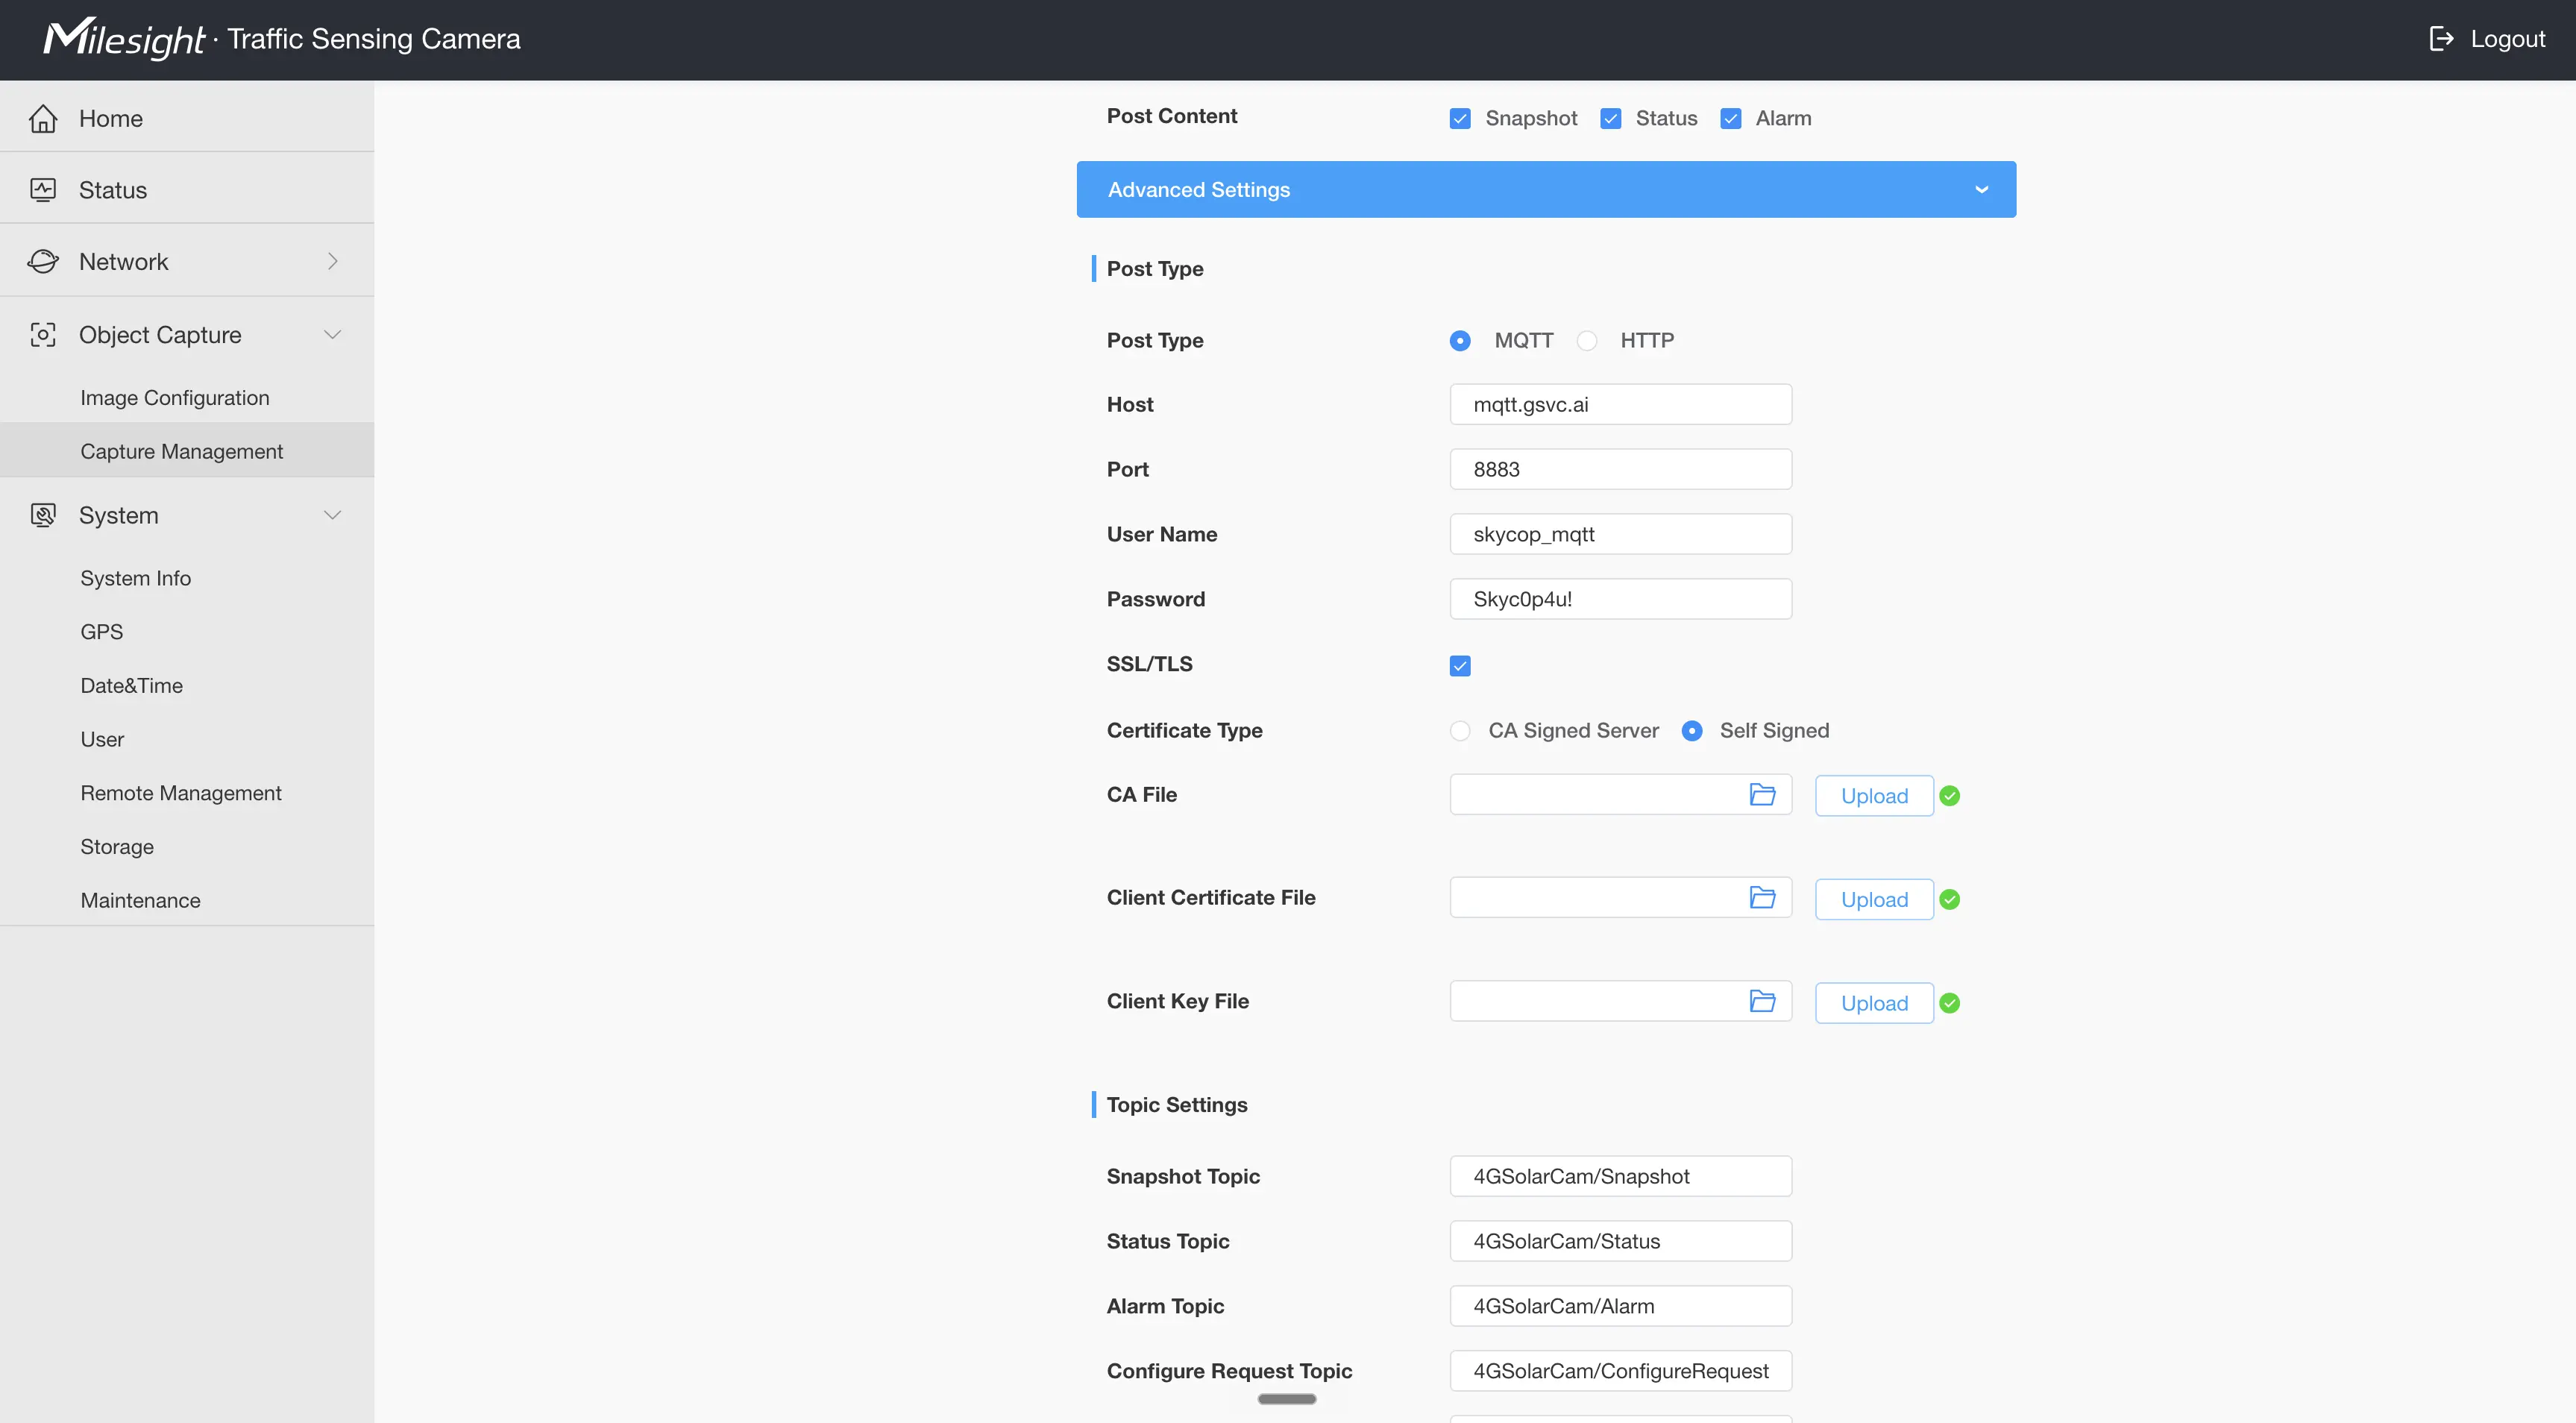
Step 7: Upload Certificates
For each Certificate:
- Click the folder icon.
- Select the corresponding certificate file (e.g.,
CA_FILE_{device_id}.pem).
Click the upload button for all three certificates
Step 8: Configure Zone and other Settings
- At the top of the capture management page draw the box over the correct capture zone for your camera
- Change any other settings that make sense for your device
Step 9: Click Save
- Scroll to the bottom of the Capture Management page and click Save.